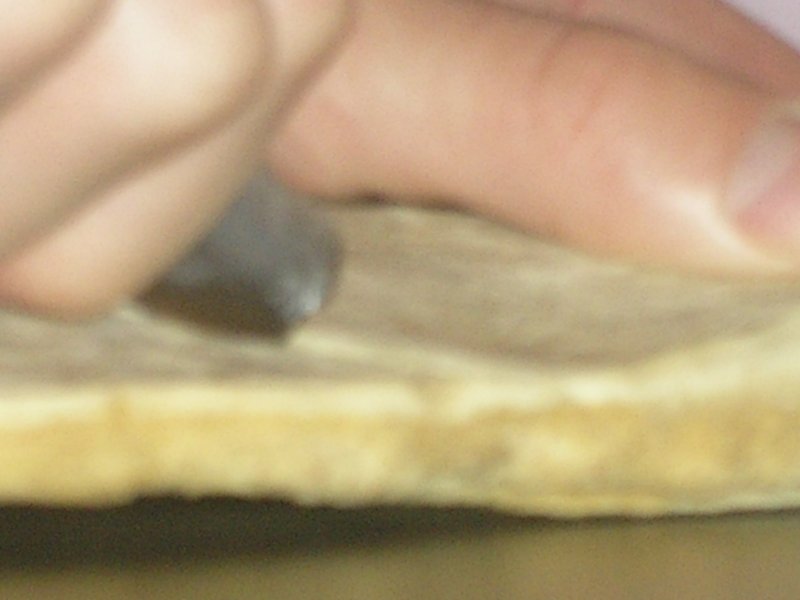
 Scoring antler. Seems tedious, but if you have a rectangular edge on your piece of flint it is surprisingly fast. To speed things up soak the piece every few strokes in hot/warm water. I often resort to saliva and that works fine too. A tip on getting a straight line, start the groove by guiding it with your opposite thumb-nail.
Score right through to the pith. That will make splitting or breaking easier, but it is possible to get a fairly dependable break with out having scored perfectly.
 Breaking is self explainatory so I will jump straight to splitting. First, make a some indentions with an antler wedge where you want the split to start. To not ruin your antler wedge or blank (hard against hard is bad) use strong wooden wedges instead. They can be easily made from any hard wood, with little effort. While good antler wedges can take hours of scoring and grinding. continue until you are through. If the blank is hard to split, you may have to hammer in wedges from the sides as well or if the starting wedge wasn't thick enough; hammer in one more from the starting point. Also, make sure your blank is well soaked in before you start and soaking it every now and then throughout the process will help a lot.
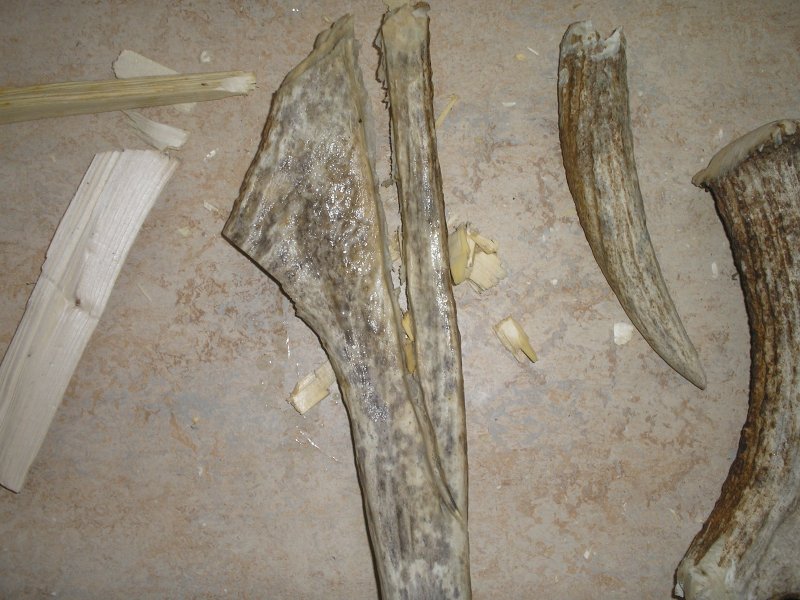
 The current antler project in display is the Ice Pick. Photo of the stage I am at here. The piece is a little curved to one side. So to make sure that the force of the blow (when chopping the ice) will go straight into the shaft, I decided to make the edge go over at one side. It was scored through, mostly from one side, but a little from the other too and broken off easily against a hard object.
Next step will be to drill holes for the hafting.
