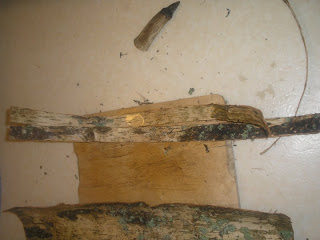
Soak the dry roll in water for a while to make it possible to unfold.

The strips are cut straight with an even width by using a stone knife, a straight edge and a wooden plank underneath.

One of these strips aren't as good as the other, most of the brown stuff should be scraped of before using them. The one with most brown and cracked bark is of much poorer quality, but still usable with this method.

There are a few considerations:
- It is hard to do if the bark is too thick, split it thinner.
- Use a heavy weight about the size of the basket, that will make things easier.
- You have to have even numbers of strips.
- Even if you are weaving a non-square basket you still have to start with equally many on each side, you just have to adjust your starting points.
- The strips can be spliced, but you need substantial overlap.

Weave (tightly) an ordinary square, even and equal numbers of strips in both directions. Weigh it down.

Fold the two middle ones on one side over eachother (make sure that you continue the weaving pattern from before), and start weaving until you have integrated all the strips on that side. Put a clamp on it.

Do the same on the opposite side, then take the two remaining sides.

Then, weave them together. The weave will become ever stronger as you work upwards, so you can pull out the clamps when you reach them.
Don't weave all the way to the top of the strips, you need some ends to tuck back into it. Tighten it all up really well first. Then fold the outer one over first (to the inside) and tuck it into the second "pocket" down from there. Don't be bothered by it ruining your pattern, the next fold will fix that.

Now, fold the inner strip over the inner part of the outer strip (Got it?). Tuck it into the third pocket (also the first, but that does not apply to the first fold).

I haven't made a lid to these yet, I don't know how I want to do it either. We'll see.
